


Tapo H200 | Smart Hub, Smart Alarm & Chime, Voice Control
Smart IoT hub with smart alarm and chime, local microSD storage for cameras, voice control via Alexa and Google, low-power wireless, and support for 64+ devices.
HIGHLIGHTS
- Up to 64+4 Devices – Connect more devices (up to 64 switches*, sensors, or buttons + 4 cameras or doorbells) to create your home's smart ecosystem. Works with Tapo C425, Tapo C420, Tapo C410, Tapo C400, Tapo D230, and more.
- Smart Alarm & Chime – Works with your smart cameras (Tapo C425, Tapo C420, Tapo C410, Tapo C400), video doorbells (Tapo D230), and sensors as a smart alarm or chime when motion is detected or a visitor arrives.
- Local microSD Storage† – Save recorded videos from your cameras or video doorbells to the hub-installed microSD card (up to 512 GB)† .
- 19 Ringtone Options – Multiple built-in ringtones (up to 90dB) for your customized scenarios.
- Low-Power Wireless – Helps your smart sensors and buttons last up to 10 times longer by adopting an ultra-low power wireless protocol**.
- Voice Control- Works with Amazon Alexa and Google Home for hands-free automation.


FAQ
Use this text to share information about your product or shipping policies.
How do I migrate my Tapo devices from an old hub to a new one?
You can migrate devices directly through the Tapo app using the Device Migration or Connect Existing Devices feature.
Sub-G devices: Go to the old hub → Device Settings → Migrate Connected Devices, then select devices and the new hub.
Wi-Fi cameras: For Tapo H500 hub, go to 'Add a device → Connect Existing Devices' to select the Wi-Fi Camera you wish to migrate. For Tapo H100/Tapo H200 hub, click' Connected Devices → Connect Existing Devices', select the Wi-Fi Camera you wish to migrate.
The process usually completes within 30 seconds. Please do not restart or upgrade the hub during migration.
For step-by-step instructions with images, please refer to: https://www.tp-link.com/au/support/faq/4664/
How do I set up my Tapo Smart Hub and connect it to Wi-Fi?
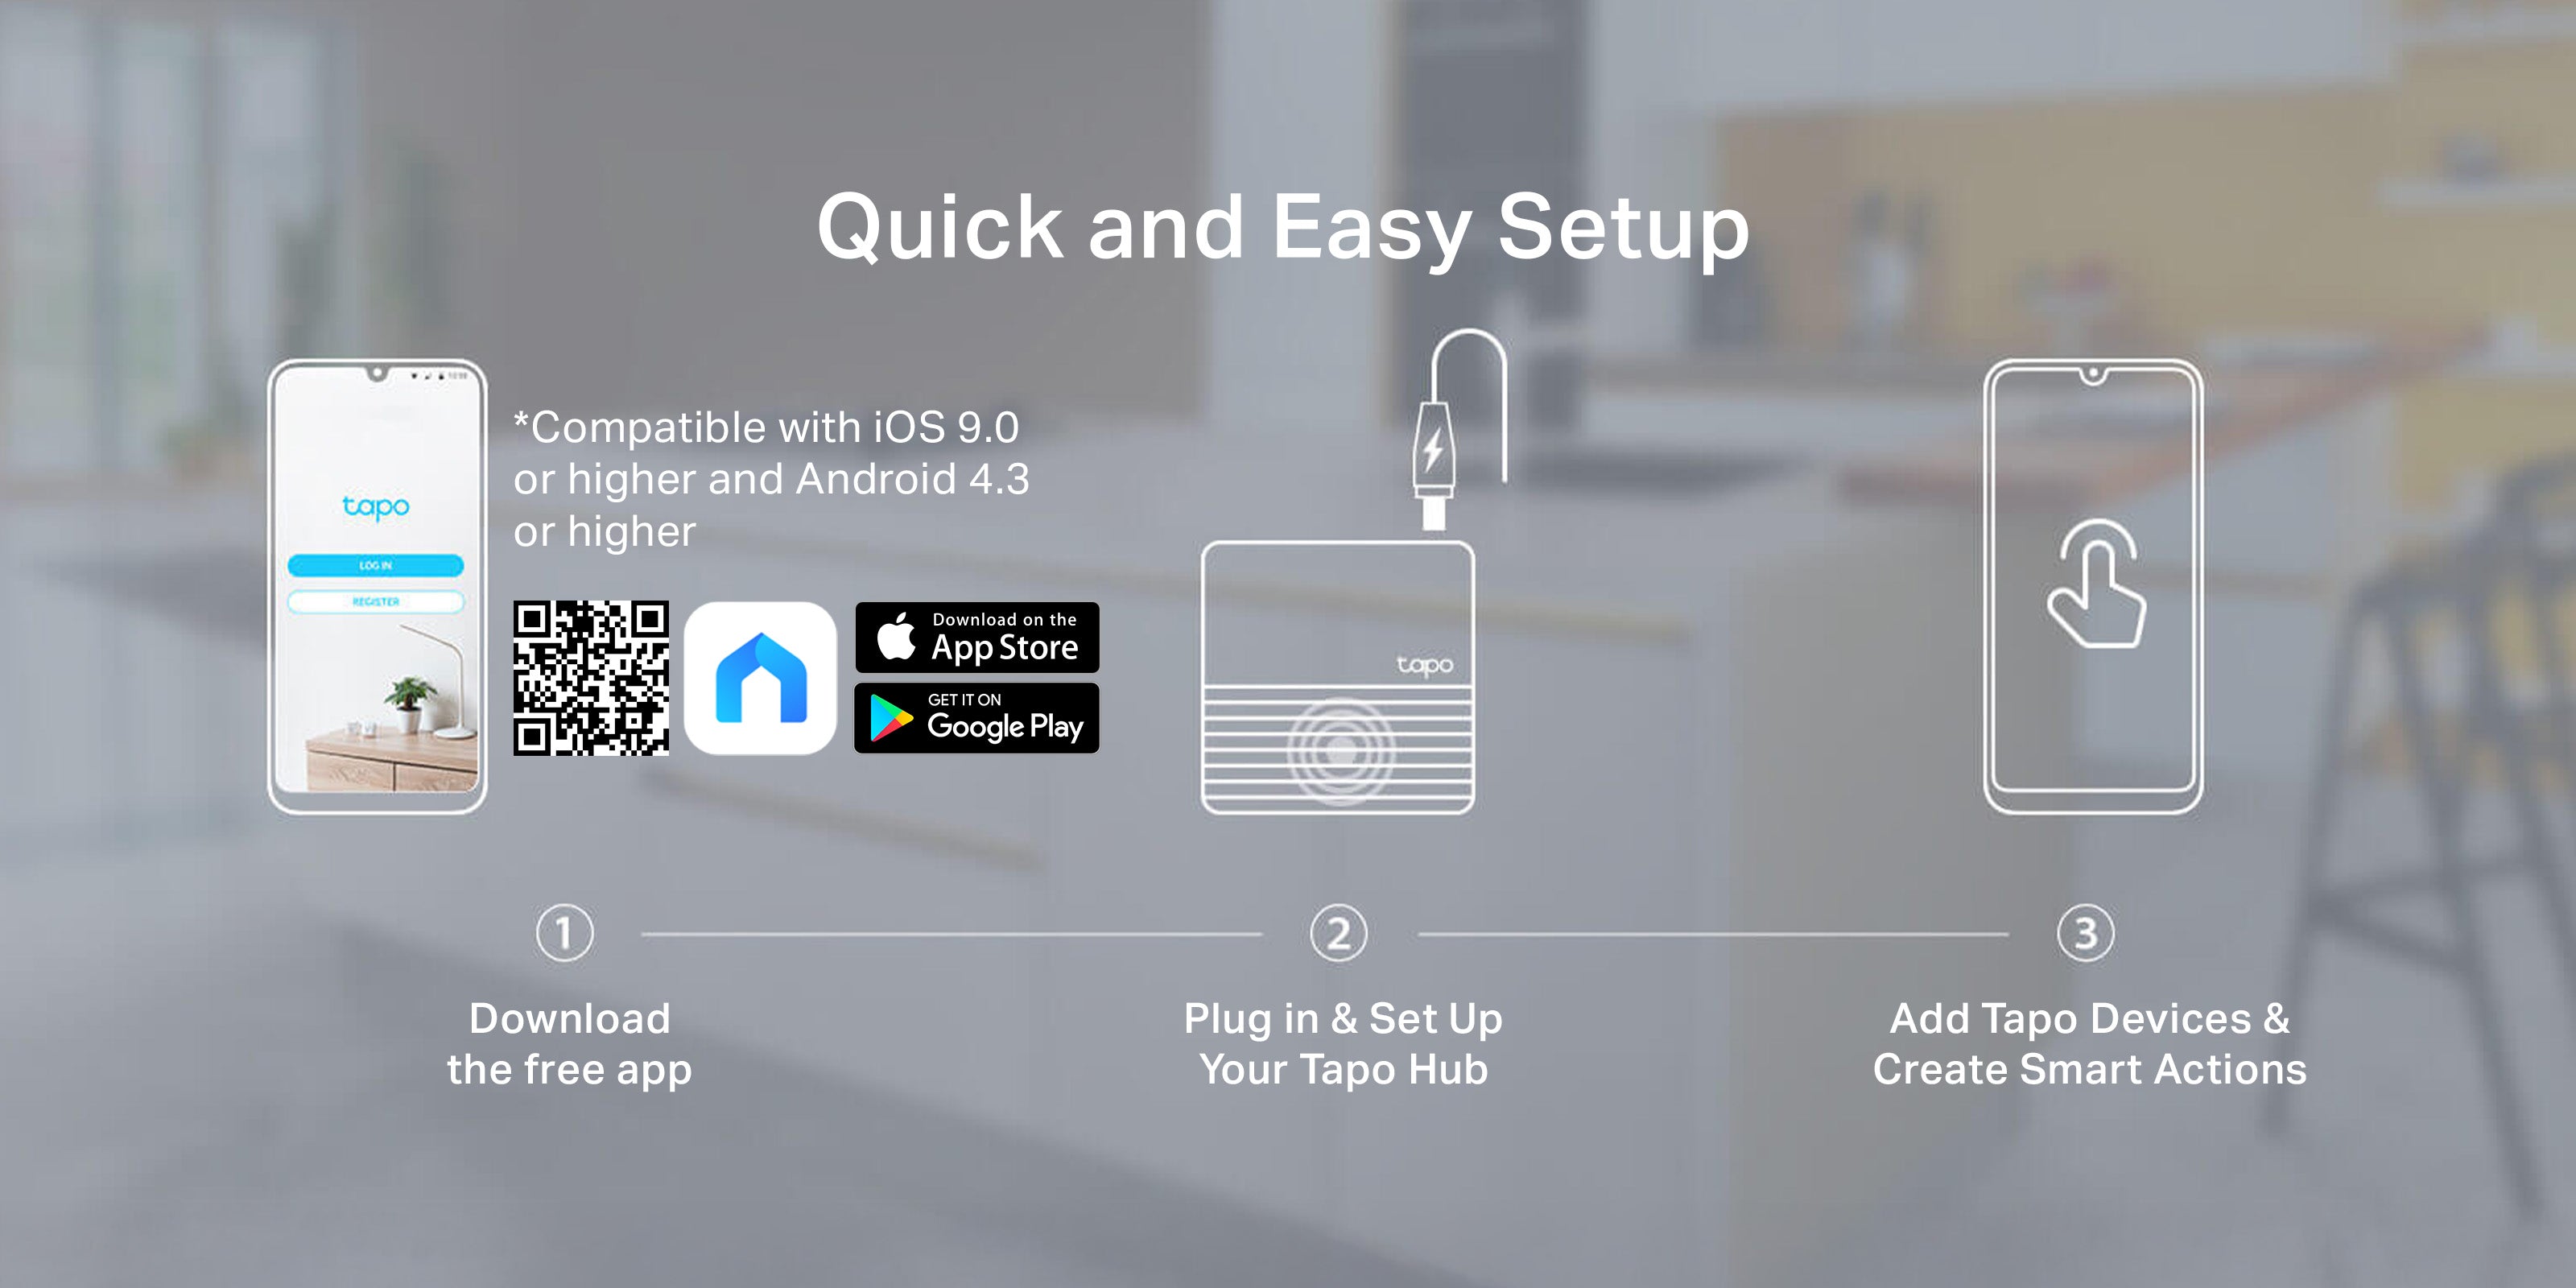
To set up your Tapo Smart Hub, simply follow these steps:
Step 1: Download and log in to the Tapo app
Step 2: Tap Add Device and select your hub model.
Step 3: Connect the hub to your router using an Ethernet cable and power it on
Step 4: Complete the setup in the app, then connect the hub to your Wi-Fi network.
Once connected to Wi-Fi, you can unplug the Ethernet cable and place the hub anywhere within your network range.
If needed, you could configure Wi-Fi later in the hub’s Network Settings.
For detailed steps with images, please refer to: https://www.tp-link.com/au/support/faq/3821/
How do I reset my Tapo Hub?
You can reset your Tapo Hub either through the Tapo app or using the physical reset button.
Via Tapo app: Remove the hub from your account in the app to restore it to factory settings.
Via physical button: Press and hold the reset/SYNC button (varies by model) until the LED indicates a successful reset.
After resetting, you can set up the hub again in the Tapo app.
For model-specific steps and visual guidance, please refer to: https://www.tp-link.com/au/support/faq/3115/
†microSD card purchased separately. ∆Smart sensors or buttons sold separately.
‡Tapo H200 can connect up to 64 IoT devices (sensors, buttons, Sub-1G switches) + 4 cameras/video doorbells. For cameras/video doorbells, it supports Tapo C425, Tapo C420, Tapo C400, Tapo D230 currently and more will be supported in the future.
§Working with Alexa and Google Home requires Tapo H200 to be connected to IPC devices, smart sensors, or Sub-1G switches.
*Tapo H200 only supports sub-g devices working in specified frequency bands: 863.35MHz, 864.35MHz, 868.35MHz (for EU/UK) or 920.9MHz, 921.7MHz, 922.3MHz (for US/AU).
**Compared with battery-powered devices using the Wi-Fi protocol.